Sirsasana, What Is It ?
– Guest blog post by Marianna –
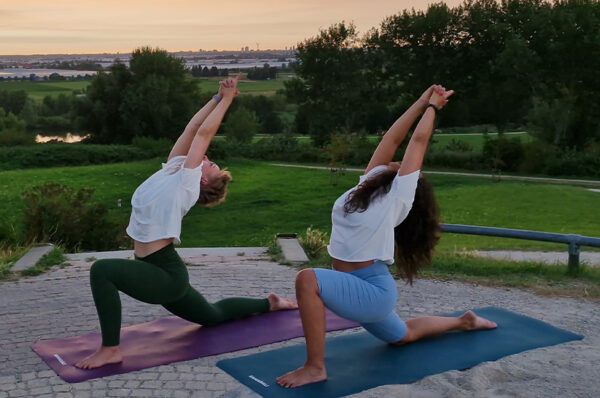
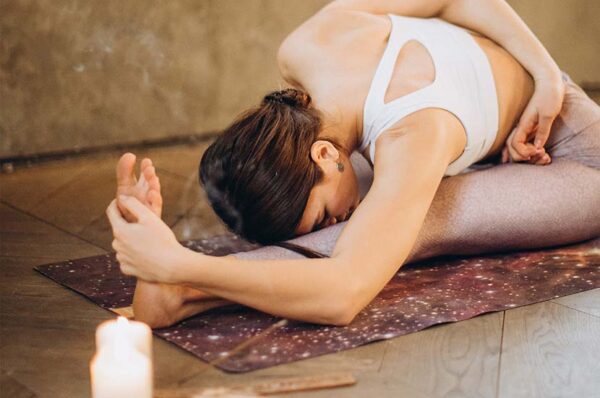
The first time I saw people performing Sirsasana I (headstand inversion) was during an Ashtanga class.
I remember telling myself: ‘Well no, you cannot, and probably you will not ever be able to do that.
I have no memories of me as a child upside down. I started yoga in my 30s, so I thought the chances of practicing demanding physical asana were out of my league.
In that class, the teacher approached me, offering to help me enter Sirsasana, but my survival instinct kindly declined the offer. I enjoyed a safer dolphin pose.
But even though I didn’t feel ready to give it a try, from that day, a little bird on my head started tempting me to work on it. And that’s when my inversion journey began.
Once I quieted my mind by telling myself that I could do that, I invested time and energy into understanding the asana and how to prepare the body.
Let’s Get Some Pre-work Done
I found out quite a few myths and approaches behind the headstand, and the one I want to share with you is the one recommended by Judith Hanson Lasater.
Sirsasana requires balance, focus, and careful attention to the demands it makes on our shoulders, neck, wrists, and fingers. You need to prepare yourselves for Sirsasana with a practice that:
- strengthens muscles
- mobilizes shoulders
- creates flexibility on the upper back
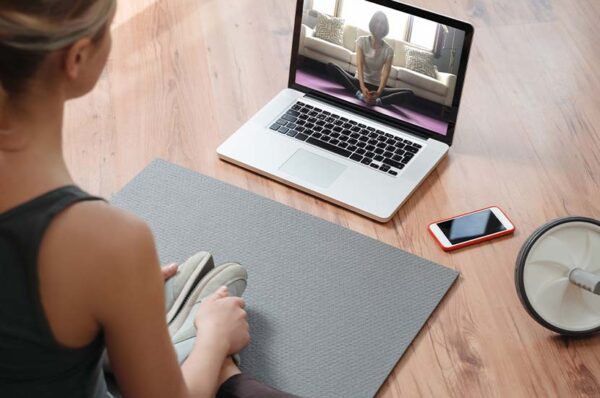
If you are entirely new to this pose, I recommend learning it under the guidance of an experienced yoga teacher.
How To Get Into A Headstand
– Start in all fours, elbows down, stretch out forearms, and interlock your fingers.
– Inhale and on exhale straighten your legs
– Lift your head, eyes on the floor.
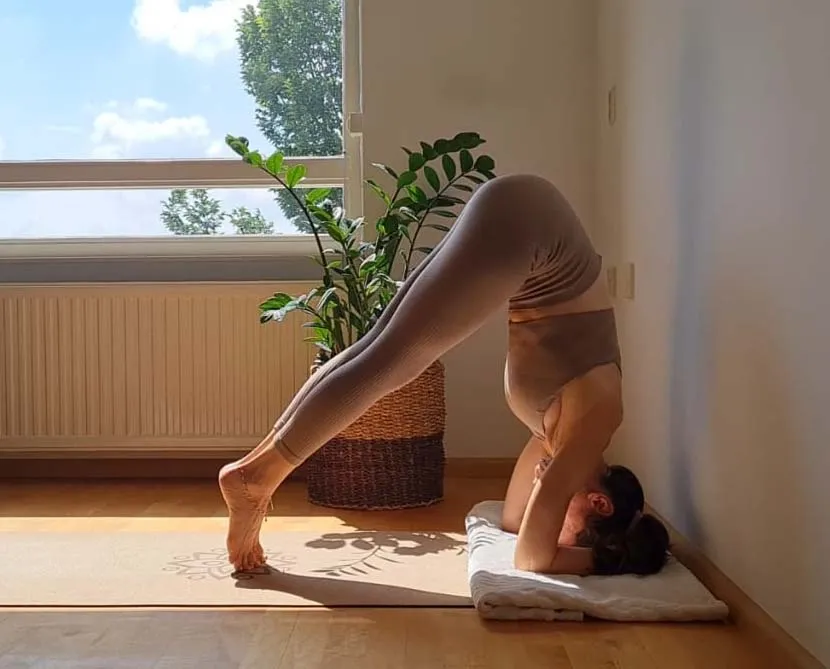
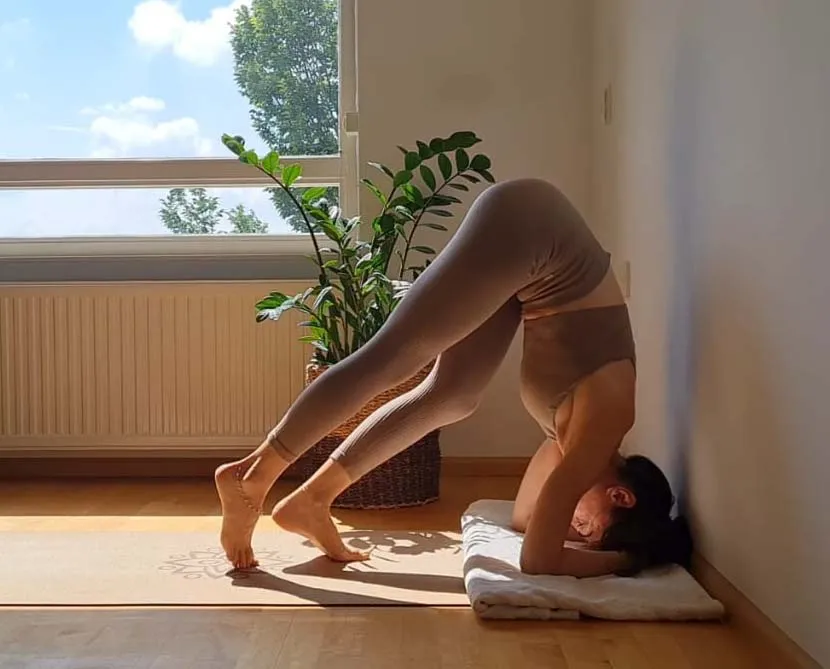
– Inhale, and when you exhale, lift up and back into an inverted V.
– Move forward over your forearms and hands, coming to a horizontal position.
– Keep going back and forth between the 2 positions several times.
– The more forward your legs are, the more challenging the movement is; the farther back they are, the easier it is.
– Notice how your upper back is moving, how much your shoulders muscles are working, how your abdominal muscles are engaged.
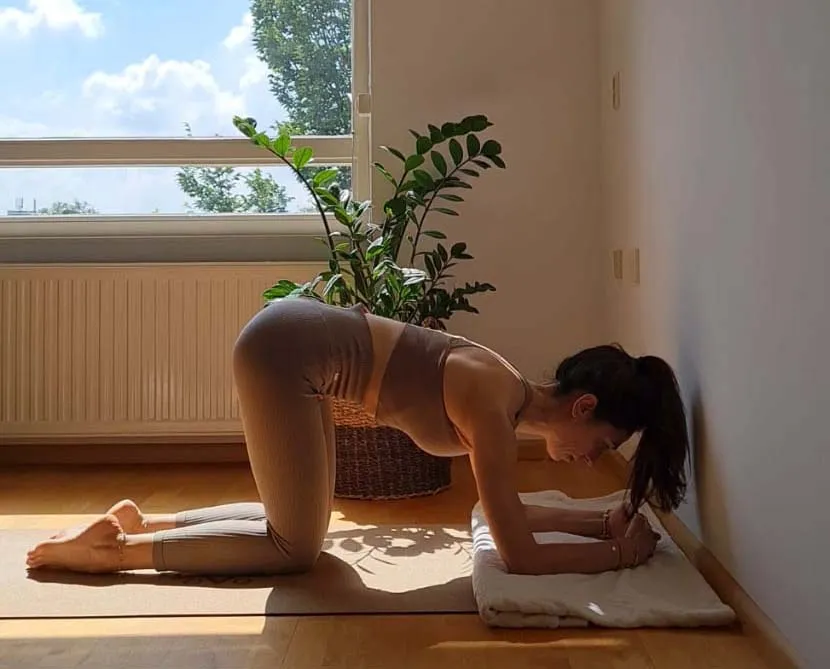
– Place your mat with the short end touching the wall.
– Place a blanket on the mat to offer some padding to your head.
– Get down on your hands and knees.
– Place your elbows exactly underneath your shoulder joints, so the upper bones of your arms are strictly vertical.
– Begin to press your forearms firmly into the mat and interlock your fingers. Place both little fingers on the floor, not on top of each other.
– Lean forward and put some weight on your forearms. Stability depends on the distance between your fingers and the center point between your elbows. The more the elbows flare out to the sides, the shorter this distance becomes, and the headstand becomes less stable.
– Place your head on the mat; the point of the head needs to touch the floor and be a little away from your interlocked fingers. So the back of your head touches your wrists.
– Eyes parallel to the horizon.
– Push your forearms into the floor, lift your shoulders, and then straighten your legs.
You are in Half Headstand, and you may want to stay here, which is more than fine. Remember to listen to your body and do not push yourself into something you are not ready for.
To continue into the full pose:
– Walk your legs toward your trunk, knees bent toward your chest.
– Let your pelvis tip back a bit over your hands, so your feet come off the floor.
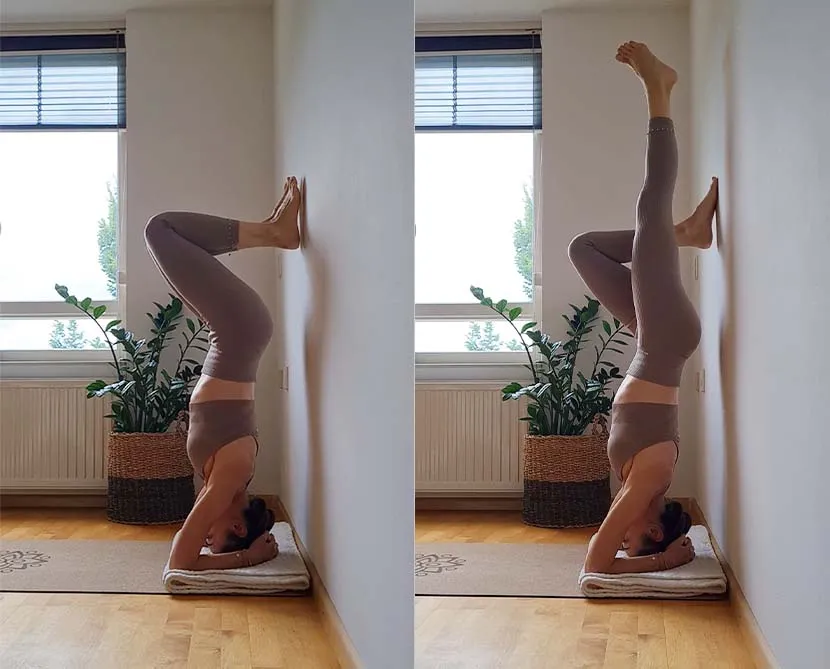
– Kick up with both legs or the push leg first and then the swing leg, and take your feet to the wall so that your shinbones are parallel to the floor.
– Pause here to make sure your shoulders are strongly lifted and your neck is long.
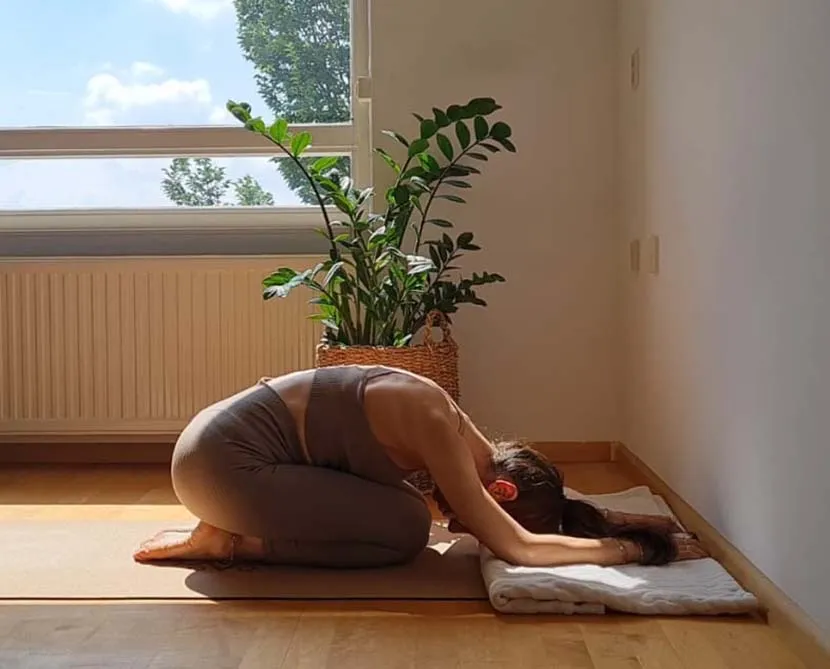
– If you are new to the pose, stay here for 5 breaths and then come down and rest in Child’s pose.
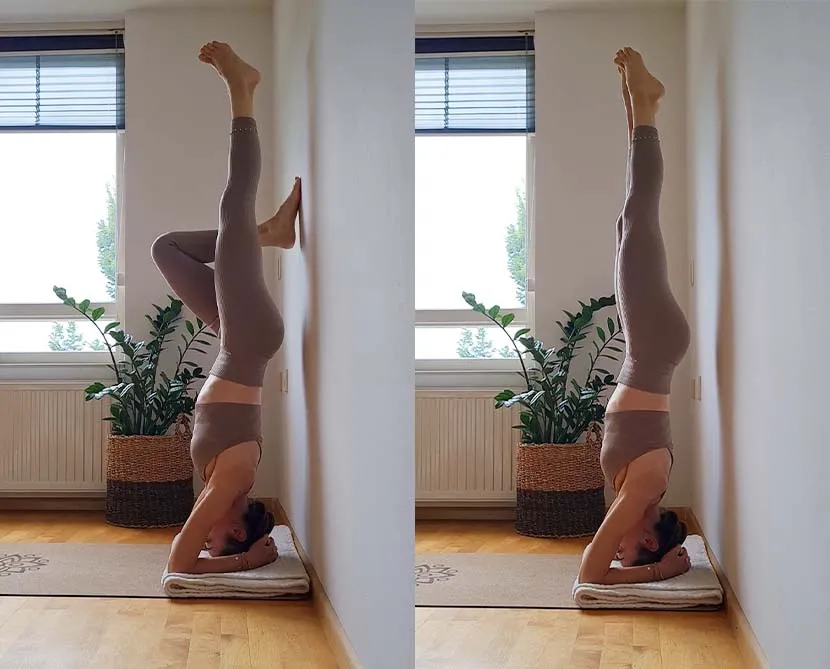
– After practicing a few times, move one leg from the wall to the vertical position. Move slowly and take your time to find the balance.
– Keep the breath natural and easy, stretch your feet, look at the center of the room.
– Feeling some pressure on the head is normal, but if you have any sensation in your neck, come down.
– Slowly lower one leg and the other, and rest in Balasana.
Headstand affects your cardiovascular system, organs, muscles, brain. Give yourself a few moments of rest to integrate all of these effects.
Recommendations
Please avoid if:
- you are pregnant
- it has been less than 12 weeks since you gave birth
- you have acid reflux disease
- you have a detached retina or glaucoma
- you have had recent surgery
- you have high blood pressure
- you are recovering from whiplash, or pain in your neck, arm, wrist, hand
- you have arthritis in your neck
- you are uneasy about trying for any reason (remember practicing needs to be fun)
- you can’t hold a side plank pose on your forearm with perfect form and steady breath for 90 seconds.
Remember to take your time and learn in stages. The key to learning and enjoying yoga poses is slow and steady.
Resources:
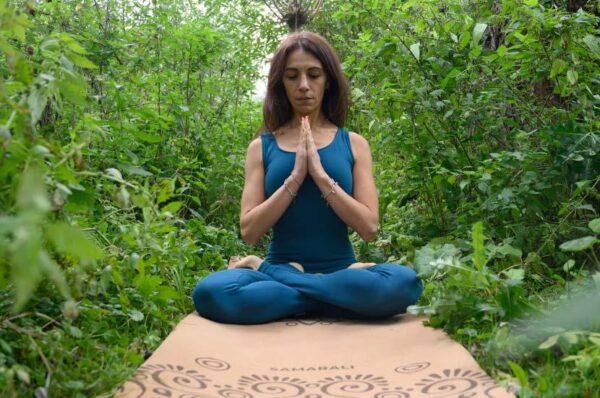
Marianna has been practicing Yoga for more than eight years, and in 2020
she completed the 200h Yoga Teacher Training in Vinyasa at YogaMoves in Utrecht.
She is passionate about sharing Yoga with others, living more sustainably,
and traveling. Here is her INSTAGRAM page.